
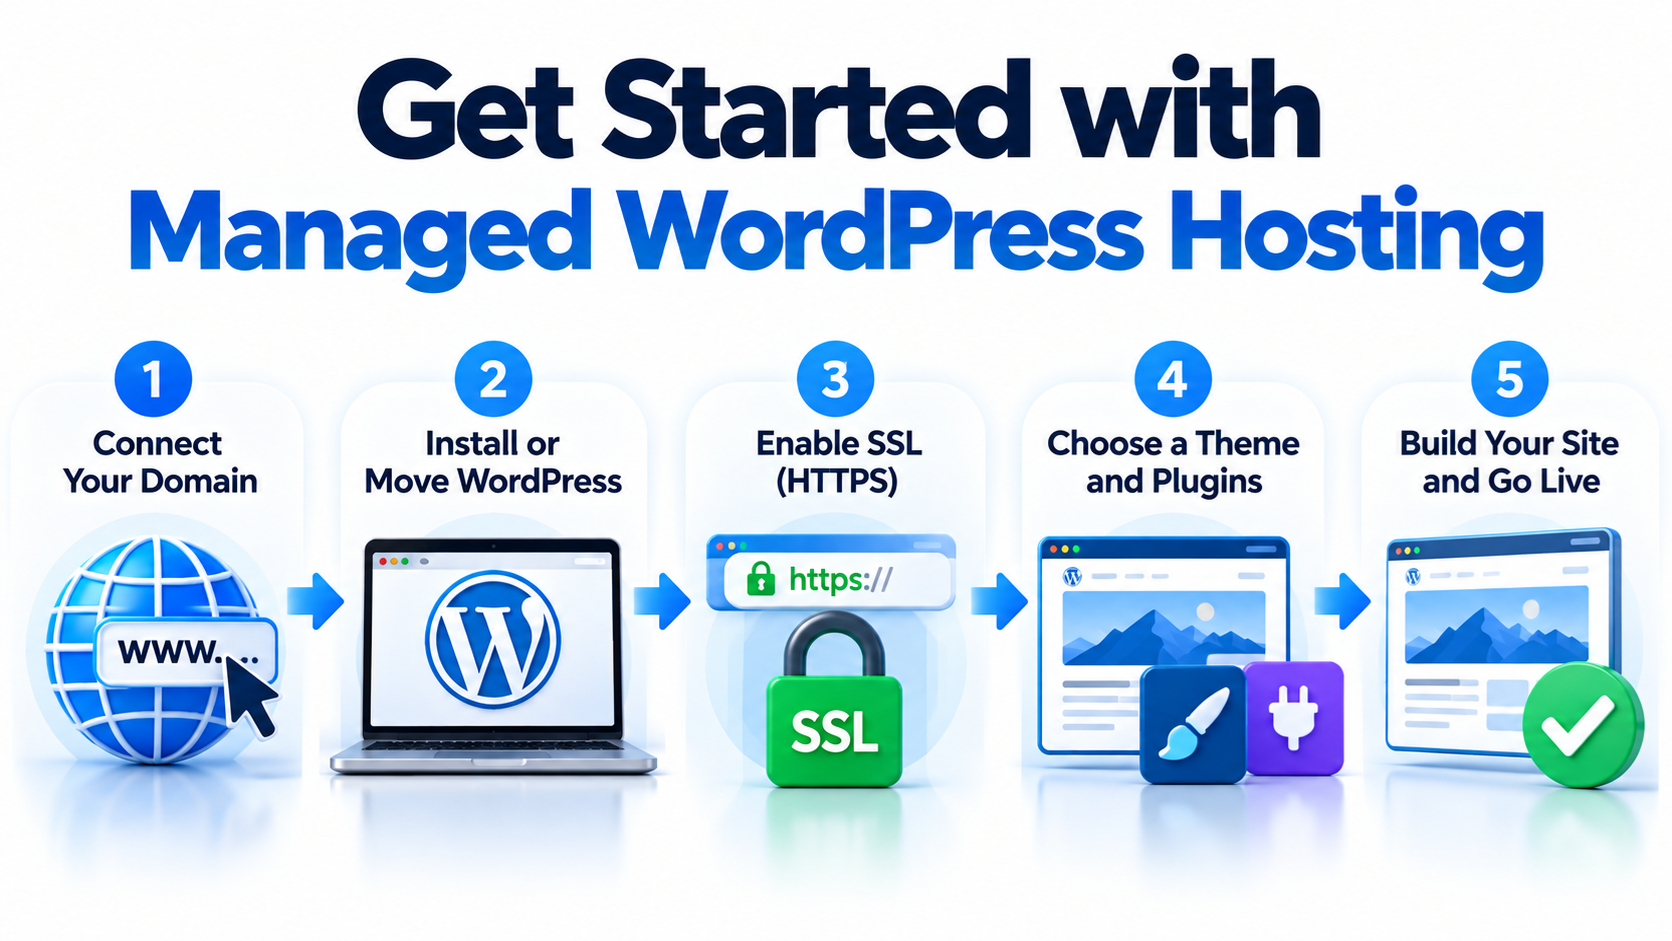
After purchasing Managed WordPress Hosting, the next step is to connect your domain, set up WordPress, secure the site, and begin building or moving your website.
The exact setup process may vary depending on your hosting plan and account configuration, but most new WordPress hosting accounts follow the same basic steps.
Step 1: Decide Whether You Are Building a New Website or Moving an Existing One
The first question is simple:
Are you creating a brand-new WordPress website, or are you moving an existing WordPress website from another hosting company?
If you are building a new website, you can start with a fresh WordPress installation.
If you already have a WordPress website elsewhere, you will normally migrate your existing files and database to the new hosting account instead of starting over.
Step 2: Connect Your Domain Name
Your domain name is the address visitors use to reach your website.
For example: example.com
If your domain is already registered, you normally need to point it to your new hosting account.
This is done through DNS.
DNS stands for Domain Name System. It connects your domain name to the server where your website is hosted.
Depending on your setup, this may involve changing:
- Nameservers
- A records
- CNAME records
- Other DNS records
Before changing DNS, make sure you understand where your email is hosted.
If your email currently uses the same domain, changing DNS incorrectly could interrupt email service.
Step 3: Install WordPress
If you are creating a new website, install WordPress on your hosting account.
Managed WordPress hosting often simplifies this process and may provide an automated installation method.
A new WordPress installation usually requires:
- Your domain name
- Website title
- Administrator username
- Administrator password
- Administrator email address
Always use a strong password for the WordPress administrator account.
Avoid simple usernames and passwords that are easy to guess.
Step 4: Log In to the WordPress Dashboard
Once WordPress is installed, you can log in to the WordPress administration area.
A common WordPress login address looks like:
example.com/wp-admin/
From the WordPress Dashboard, you can manage:
- Posts
- Pages
- Images
- Themes
- Plugins
- Users
- Menus
- Website settings
This is where most website management takes place.
Step 5: Enable HTTPS and SSL
Your website should use HTTPS.
HTTPS encrypts communication between the visitor’s browser and your web server.
To use HTTPS, your website needs an SSL/TLS certificate.
Managed WordPress hosting often includes or supports SSL certificate installation.
After SSL is enabled, your website should load using:
https://example.com
rather than:
http://example.com
You should also confirm that WordPress itself is configured to use the HTTPS address.
Step 6: Choose a WordPress Theme
A WordPress theme controls much of your website’s appearance.
The theme can affect:
- Page layout
- Fonts
- Colors
- Header
- Footer
- Navigation
- Blog layout
- Mobile design
WordPress includes default themes, and many additional free and commercial themes are available.
For a business website, choose a theme that is:
- Actively maintained
- Mobile-friendly
- Compatible with current WordPress versions
- Well documented
- Not overloaded with unnecessary features
A simpler theme is often easier to maintain and can perform better than a very complicated one.
Step 7: Install Only the Plugins You Need
Plugins add features to WordPress.
For example, plugins can provide:
- Contact forms
- Search engine optimization tools
- Security features
- Backups
- Caching
- Image optimization
- E-commerce
- Analytics
- Anti-spam protection
Plugins are useful, but installing too many can create problems.
Every plugin adds additional code to your website.
Poorly maintained plugins can create:
- Security risks
- Performance problems
- Compatibility issues
- Update conflicts
Install only plugins that you actually need, and keep them updated.
Step 8: Create the Essential Website Pages
Most business websites should start with a few basic pages.
Examples include:
- Home
- About Us
- Services
- Contact
- Privacy Policy
- Terms of Service
Depending on your website, you may also need:
- FAQ
- Blog
- Support
- Pricing
- Product pages
- Refund policy
- Shipping information
Build the core structure first before adding too many extra features.
Step 9: Configure Your Website Settings
Before publishing the site, review your WordPress settings.
Important settings may include:
- Site title
- Tagline
- Time zone
- Administrator email
- Homepage
- Permalink structure
- Comment settings
- User registration settings
- Media settings
Permalinks control the structure of your page URLs.
For example:
example.com/sample-post/
Clear, readable URLs are usually easier for visitors and search engines to understand.
Step 10: Set Up Backups
Do not wait until something goes wrong before thinking about backups.
A WordPress backup should normally include:
- Website files
- Themes
- Plugins
- Uploaded media
- Configuration files
- Database
Managed WordPress hosting may include automatic backups.
Even if backups are automatic, you should understand:
- How often backups are created
- How long they are retained
- How to restore them
- Whether backups are stored separately from the live website
Knowing how to restore a backup is just as important as having one.
Step 11: Review Security
Managed WordPress hosting can reduce the amount of security work you need to do, but you still need to follow good practices.
At minimum:
- Use strong, unique passwords
- Enable two-factor authentication if available
- Keep WordPress updated
- Keep plugins and themes updated
- Remove unused plugins
- Remove unused themes
- Limit administrator accounts
- Use HTTPS
- Maintain backups
Do not install plugins or themes from unknown websites simply because they are free.
Step 12: Configure Caching and Performance
WordPress dynamically generates pages using PHP and a database.
Caching can reduce the amount of work required for each visitor.
Managed WordPress hosting may already include server-level caching.
If caching is included, avoid installing multiple caching systems that perform the same job unless you understand how they interact.
Other ways to improve performance include:
- Compressing large images
- Using modern image formats
- Removing unnecessary plugins
- Choosing a lightweight theme
- Reducing excessive scripts
- Using a CDN when appropriate
A CDN, or Content Delivery Network, can deliver static website files from servers located closer to your visitors.
Step 13: Set Up Your Contact Forms and Email
If your site uses contact forms, test them carefully.
A form that appears to submit successfully does not always mean the email was delivered.
Check that:
- Form notifications reach the correct email address
- Replies work
- Spam filtering is configured
- Important messages are not going to the spam folder
Website hosting and email hosting are separate services, even when the same company provides both.
If you use an external email provider, make sure your DNS records remain correct.
Step 14: Test the Website Before Launch
Before sending visitors to your new website, test it.
Check:
- Home page
- Navigation
- Images
- Contact forms
- Mobile layout
- Login page
- HTTPS
- Internal links
- Buttons
- Search function
- Shopping cart, if applicable
- Checkout, if applicable
Also test the website on more than one device.
A page that looks good on a desktop computer may not look the same on a phone.
Step 15: If You Are Moving an Existing Website, Test Before Changing DNS
If you are migrating from another hosting company, do not immediately cancel your old account.
First:
- Copy the website to the new hosting environment.
- Import the database.
- Check the WordPress configuration.
- Test the website.
- Confirm SSL is working.
- Confirm forms and email still work.
- Update DNS only after the new site is ready.
Keep the old hosting account active until the migration is fully complete.
This reduces the risk of unnecessary downtime or data loss.
Step 16: Keep WordPress Maintained
Launching the website is not the end of the process.
WordPress websites require regular maintenance.
You should periodically review:
- WordPress updates
- Plugin updates
- Theme updates
- Backups
- Security alerts
- Broken links
- Website speed
- Disk space
- Error logs
- Administrator accounts
A website that is never updated will eventually become harder to maintain and more vulnerable to security problems.
A Simple Managed WordPress Setup Checklist
After purchasing Managed WordPress Hosting, your basic setup process is:
- Connect your domain.
- Install or migrate WordPress.
- Enable SSL and HTTPS.
- Log in to the WordPress Dashboard.
- Choose a theme.
- Install only necessary plugins.
- Create your main pages.
- Configure WordPress settings.
- Confirm backups are working.
- Review security settings.
- Configure caching and performance.
- Test forms and email.
- Test the website on desktop and mobile.
- Update DNS if you are migrating an existing site.
- Keep the website maintained.
Conclusion
Getting started with Managed WordPress Hosting does not require you to become a server administrator.
The main steps are to connect your domain, install or migrate WordPress, enable HTTPS, configure your site, choose a theme, install the plugins you need, and test everything before launch.
Managed WordPress hosting is designed to reduce much of the technical work associated with running WordPress, but you should still understand the basics of domains, DNS, backups, security, and updates.
Once those pieces are in place, you can focus on the most important part of your website: creating useful content and serving your visitors.